
You’ve pinned a hundred picture gallery wall ideas and still aren’t sure which look will actually translate to your bedroom. This list cuts through the inspiration noise with twenty picture gallery ideas that work in real rooms, with the one specific tip you need for each one.
1. The Single-Color Frame Trick
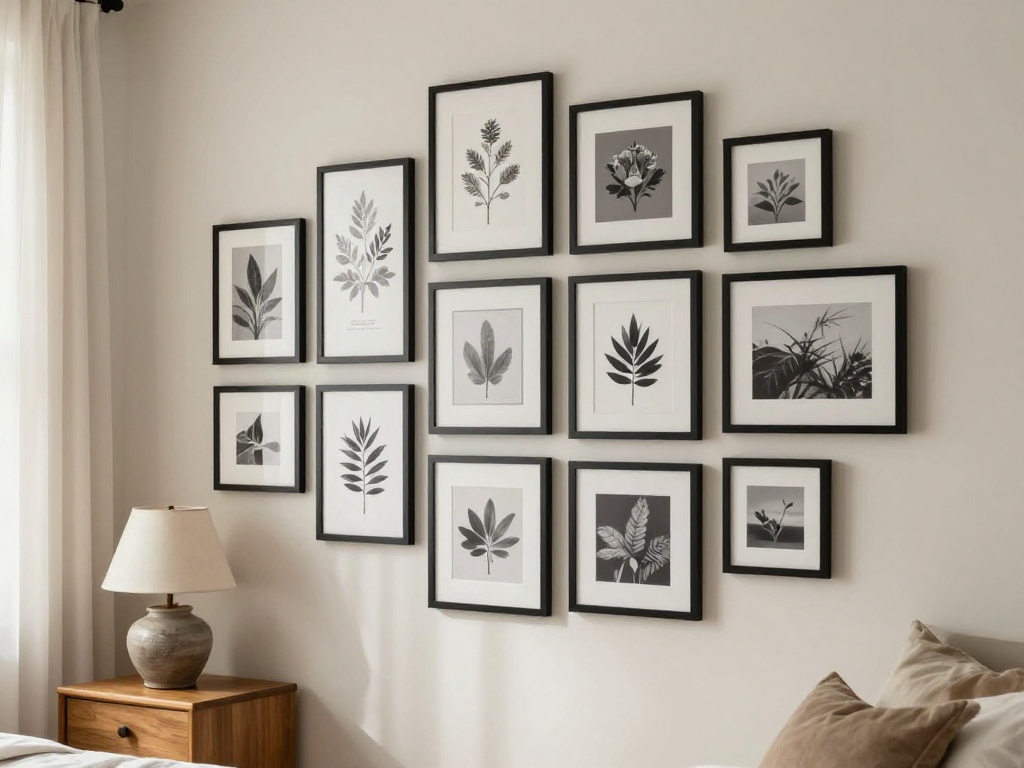
Commit to one frame finish across every piece — black, white, or natural wood — and let the artwork itself carry all the variety. This instantly unifies mismatched print sizes and subjects, making the wall feel like a cohesive collection rather than a random assortment. In a bedroom, black frames pop against light walls, while white frames keep things airy and calm.
Tip – Spray-paint thrifted frames in your chosen finish for a cohesive look that costs a fraction of buying new.
2. The Floor-to-Ceiling Salon Hang
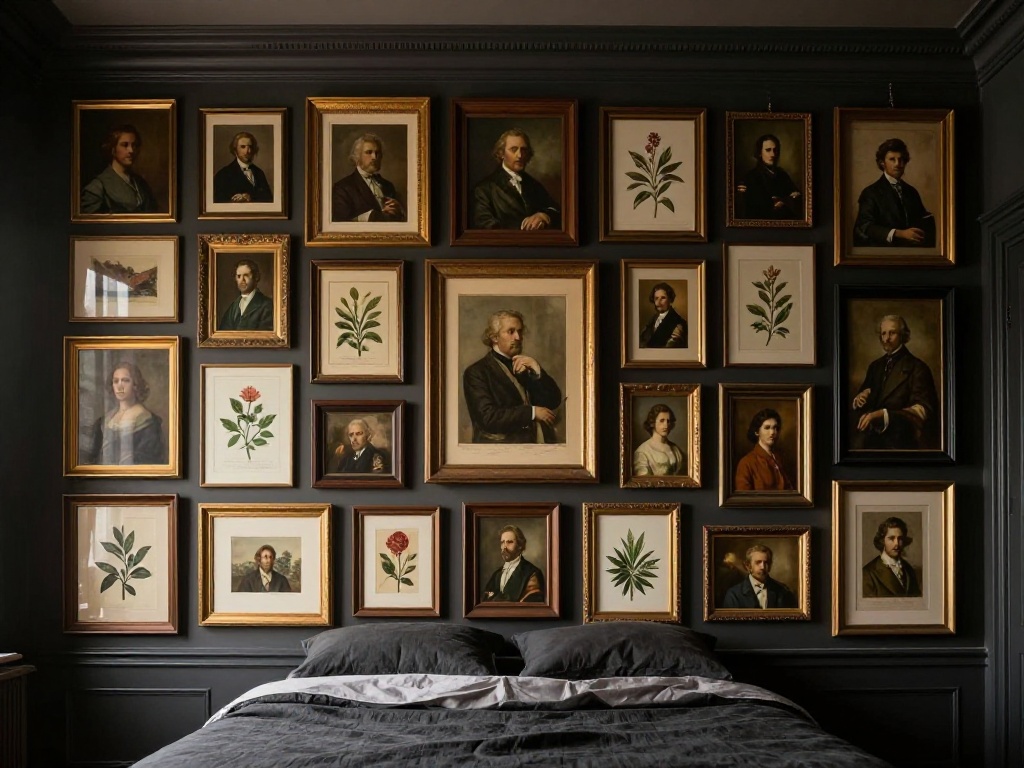
This is the maximalist approach where frames climb from just above the baseboard all the way to the crown molding, filling the entire wall. It works best on the wall behind your bed, creating a dramatic headboard effect that draws the eye upward and makes the ceiling feel higher. You’ll need at least fifteen to twenty pieces to fill the space, so start collecting now.
Tip – Lay the entire arrangement out on the floor first, tracing each frame with painter’s tape on the wall before you hammer a single nail.
3. The Asymmetrical Stair-Step
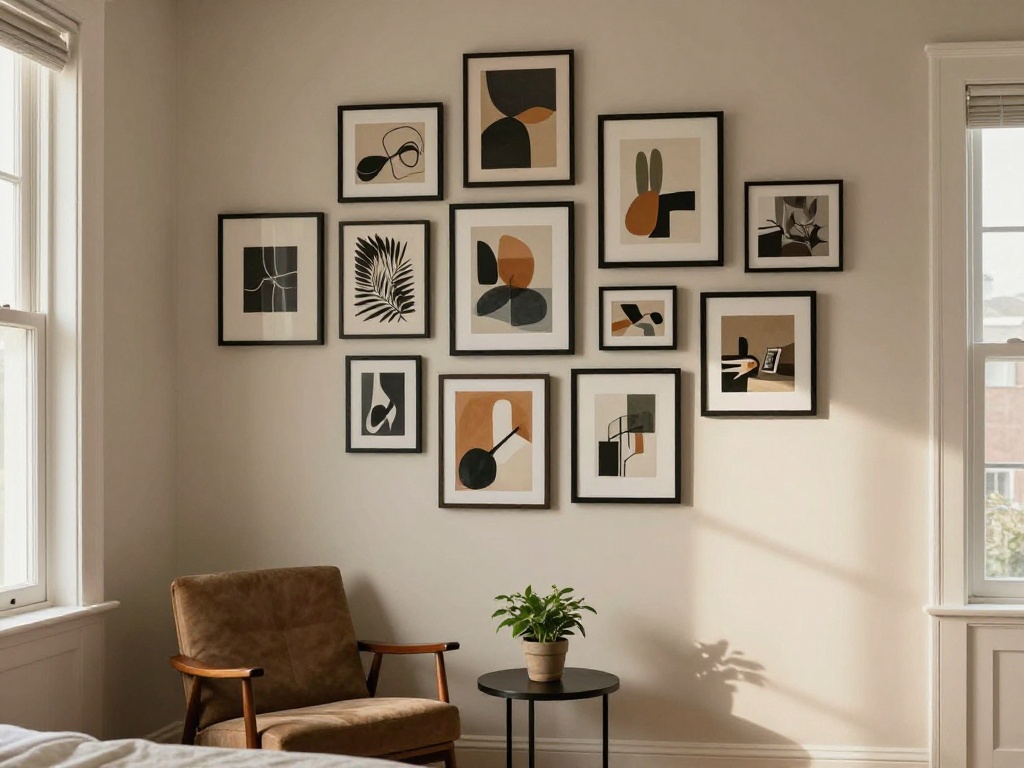
Instead of centering everything, let your frames cascade down the wall in an uneven zigzag, with each row offset from the one above. This organic layout feels modern and unstudied, perfect for a bedroom corner where you want visual interest without rigidity. The key is varying the heights of the largest pieces so the eye travels naturally.
Tip – Start with your largest frame positioned slightly off-center, then build the cascade outward and downward from that anchor.
4. The Shelf-Led Lean
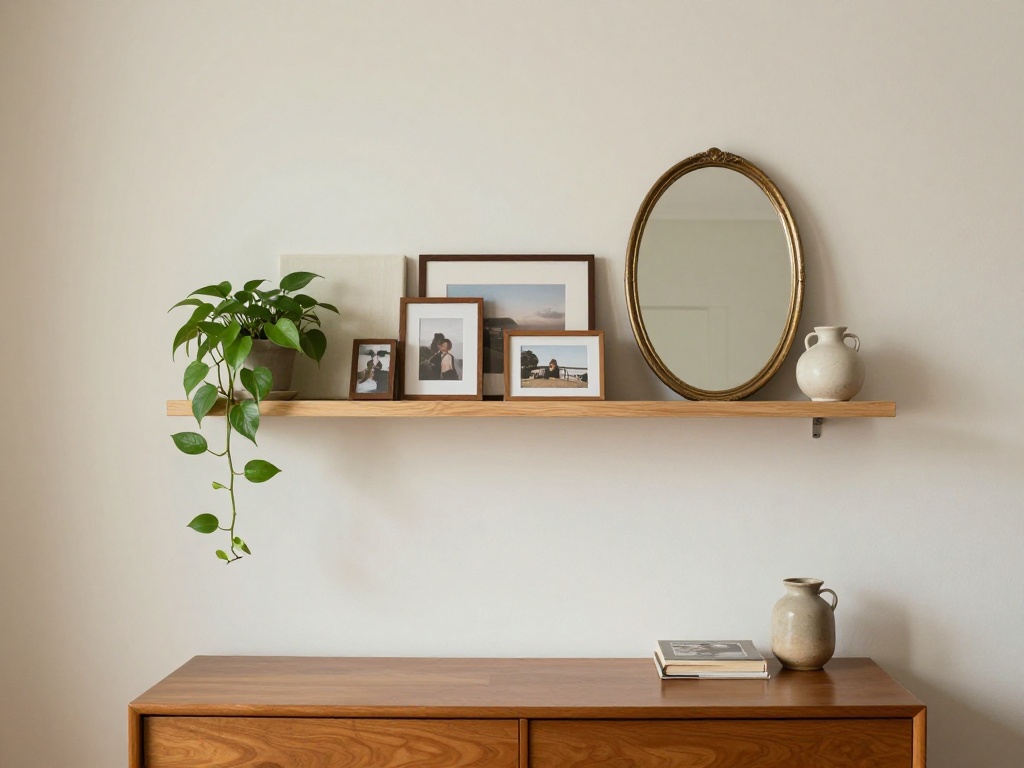
Mount a simple floating shelf about five feet from the floor and lean a mix of framed photos, small canvases, and even a mirror against the wall on top. The shelf acts as a landing pad that lets you swap pieces out seasonally without patching holes. Layer smaller frames in front of larger ones, and tuck in a small plant or ceramic object for depth.
Tip – Keep the shelf depth shallow — around six inches — so the frames stay propped at a natural angle without sliding forward.
5. The Grid of Four
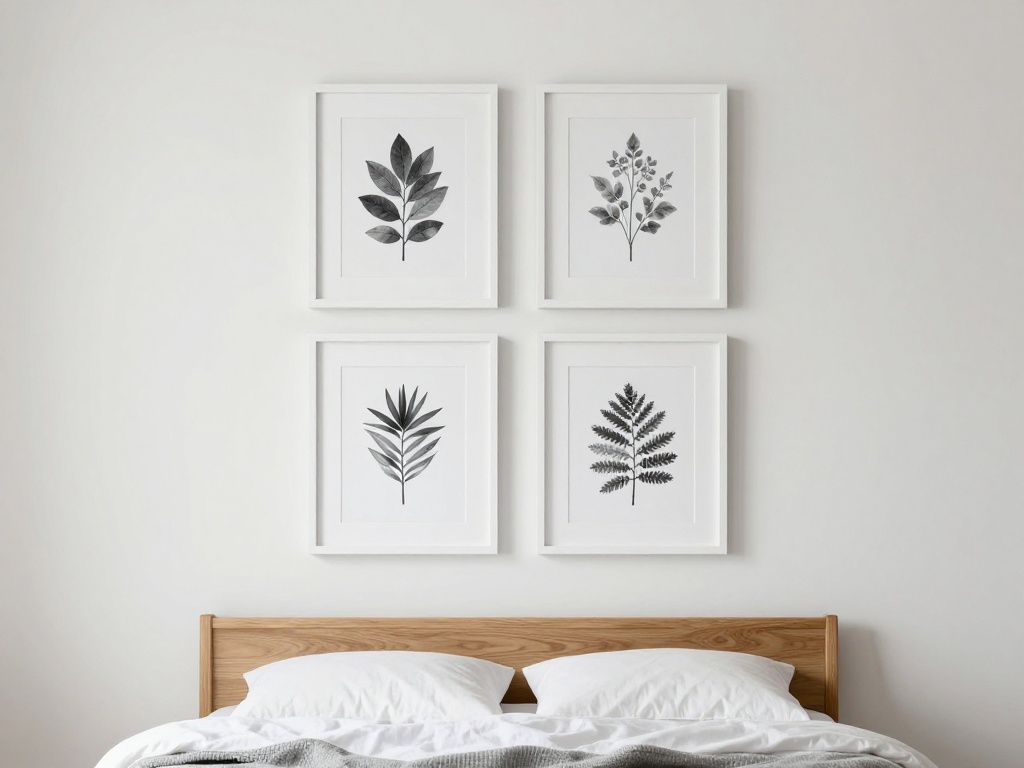
Sometimes the cleanest picture gallery is simply four identical frames arranged in a perfect square, two by two. This graphic approach feels like a window into four separate moments, especially striking when you use the same subject — like four black-and-white portraits or four botanical prints. It’s the easiest layout to execute and requires only a level and a tape measure.
Tip – Leave exactly two inches between each frame — any wider and the grid loses its visual punch, any narrower and it feels cramped.
6. The Mix-and-Match Frame Eclectic
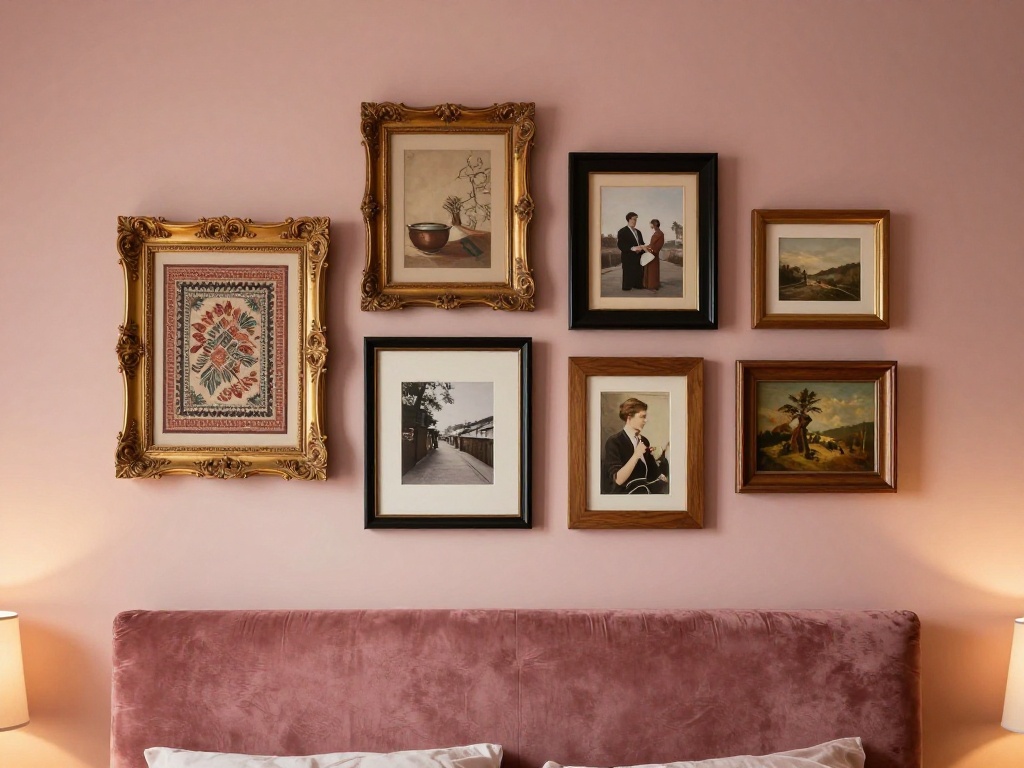
Pair ornate gold or silver frames with clean modern ones, mixing ovals with rectangles and squares in a single organic cluster. This collected-over-time look brings warmth and personality to a bedroom, especially when you include different mediums like a textile piece alongside a photograph and a small painting. Keep the color palette of the art itself controlled — black-and-white photos or a unified muted palette — to prevent chaos.
Tip – Limit yourself to three frame finishes max (for example, gold, black, and natural wood) to keep the variety feeling intentional.
7. The Washi Tape Temporary Wall
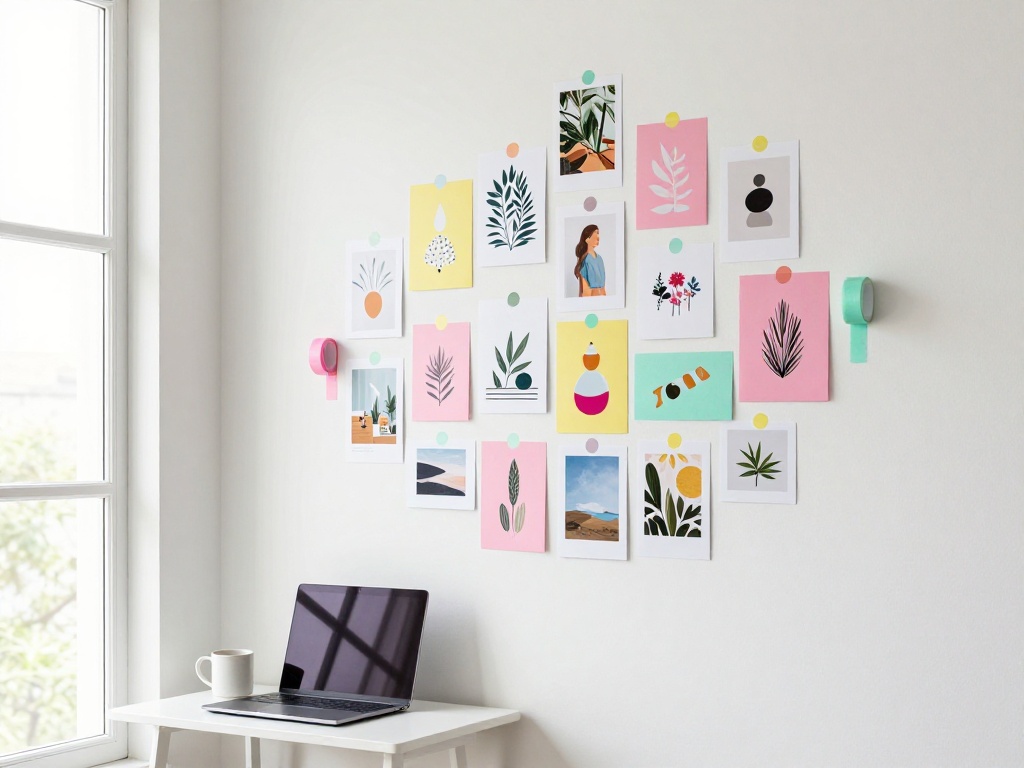
For renters or commitment-phobes, use washi tape to mount lightweight prints and postcards directly to the wall in an overlapping cluster. The tape comes in endless colors and widths, letting you create borders that act as faux frames. This picture gallery approach is entirely damage-free and easily rearranged on a whim.
Tip – Mount your prints on lightweight cardstock first to prevent curling, and use at least four small pieces of tape per corner for a secure hold.
8. The Single Oversized Statement
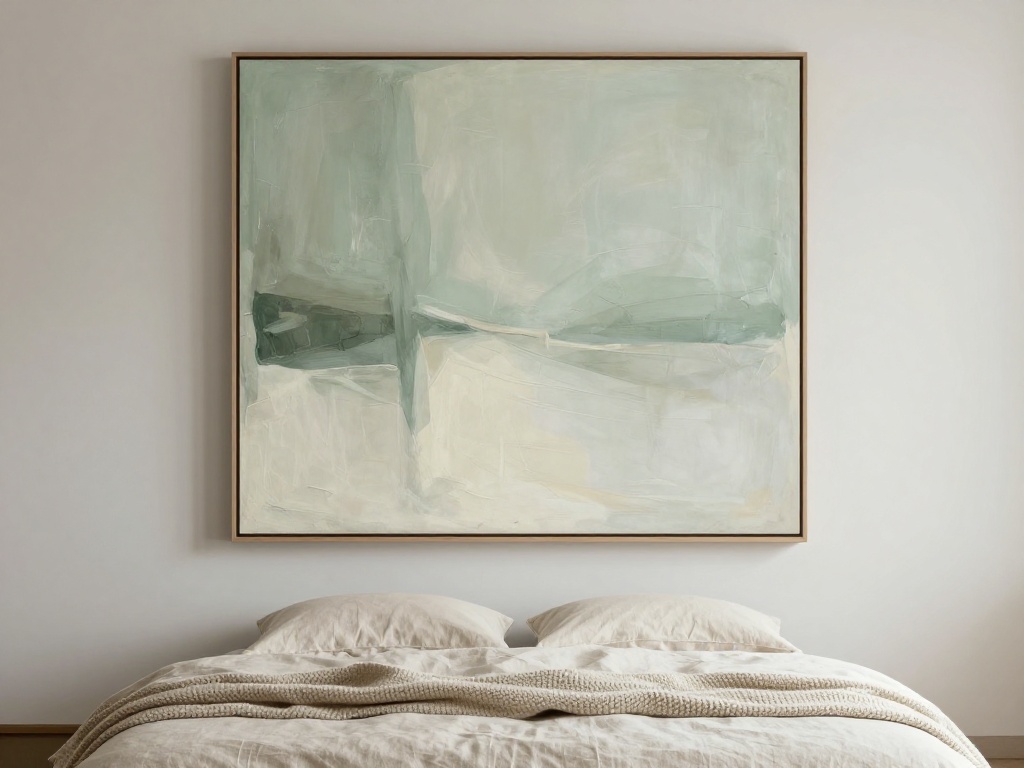
Skip the cluster entirely and hang one massive framed print or canvas that takes up at least two-thirds of the wall width. This is the anti-gallery gallery wall, delivering maximum impact with minimum effort. In a bedroom, a large landscape or abstract piece above the bed creates a focal point that feels like a headboard.
Tip – The center of the artwork should hang at eye level, roughly fifty-seven to sixty inches from the floor.
9. The Black-and-White Photo Grid
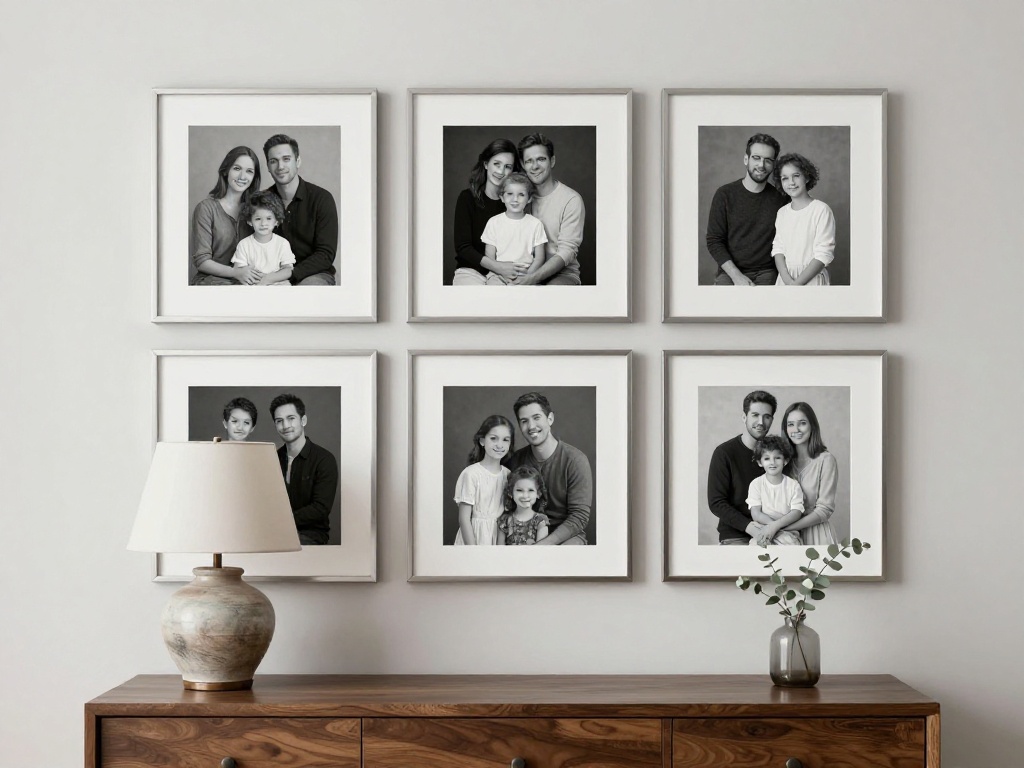
Print a series of black-and-white family photos or travel shots in the same size and frame them identically in a tight grid. This monochrome treatment transforms personal snapshots into a sophisticated, editorial display. The lack of color lets the composition and emotion of each image carry the weight.
Tip – Convert all photos to true black-and-white (not sepia) and adjust the contrast so the whites are crisp and the blacks are deep — it makes the grid read as one cohesive piece.
10. The Curved Organic Cluster
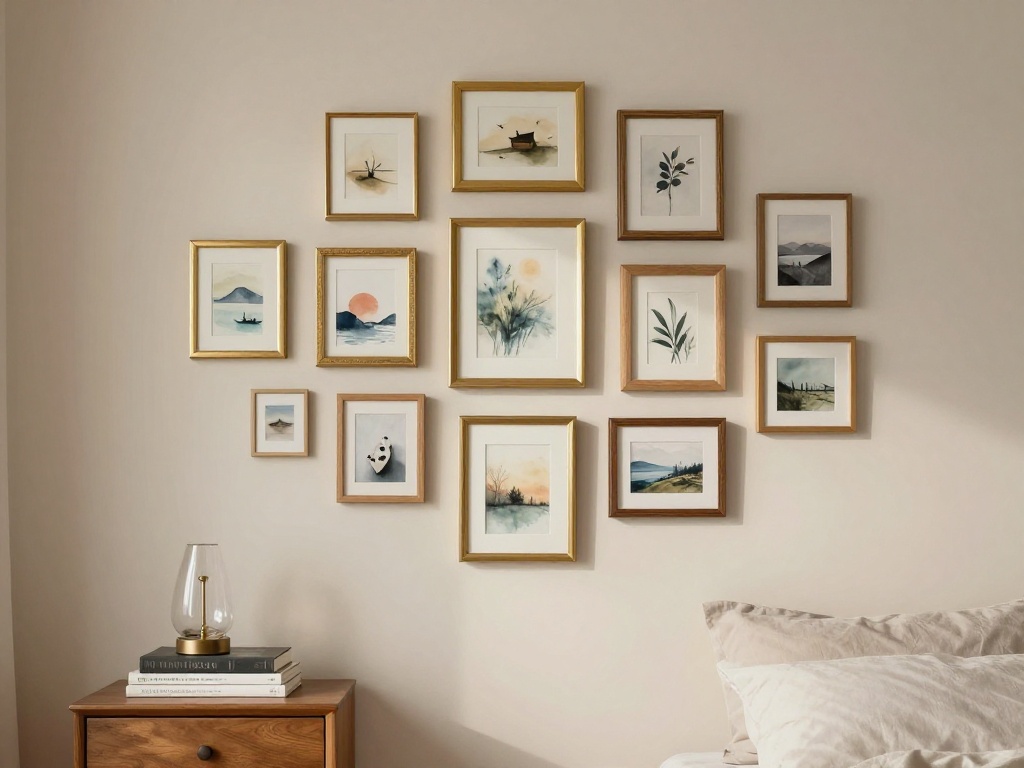
Arrange your frames in a loose, flowing shape — like a circle, an oval, or an S-curve — rather than a strict rectangle. This soft layout works beautifully above a bedside table or in a corner, adding movement to an otherwise static wall. The irregular outer edge feels more like art installation and less like a structured display.
Tip – Trace your desired shape lightly with a pencil on the wall first, then place frames so their outer edges just graze the line.
11. The Matching Frames, Mixed Sizes
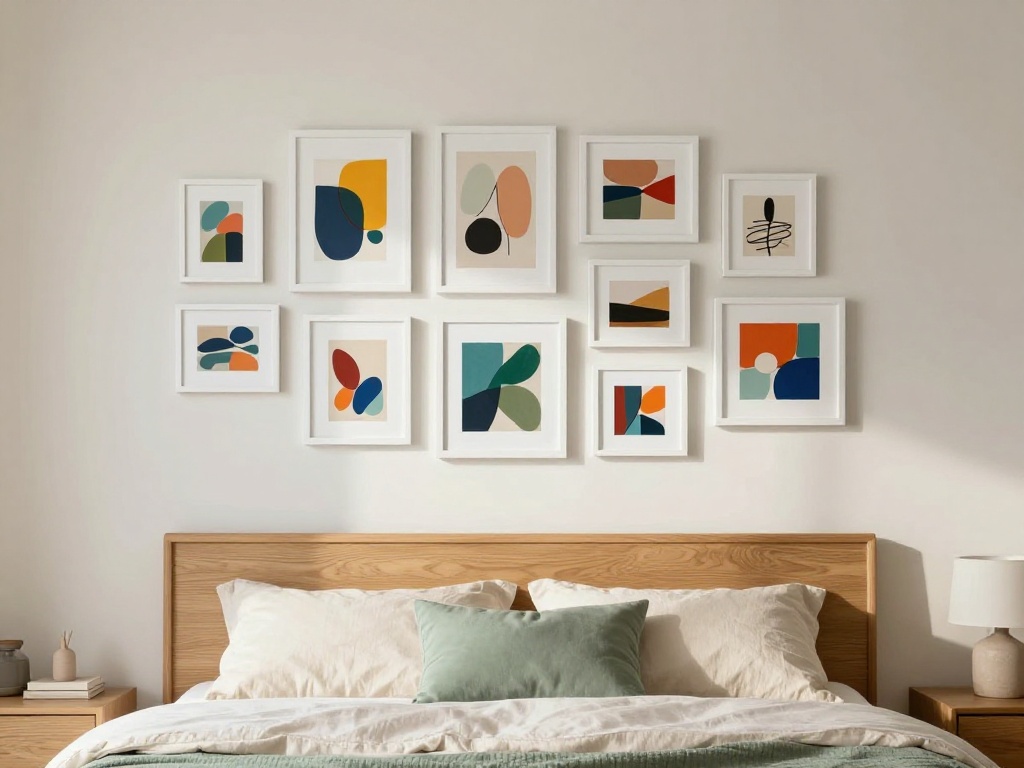
Choose one frame finish and style — say, simple white wood — but vary the dimensions of each piece dramatically. A 16×20 pairs with a 5×7 and an 8×10, creating rhythm without uniformity. This approach gives you the visual calm of a single finish and the interest of varied proportions.
Tip – Hang the largest frame slightly off-center, then balance it with a cluster of smaller pieces on the opposite side.
12. The Art + Object Hybrid
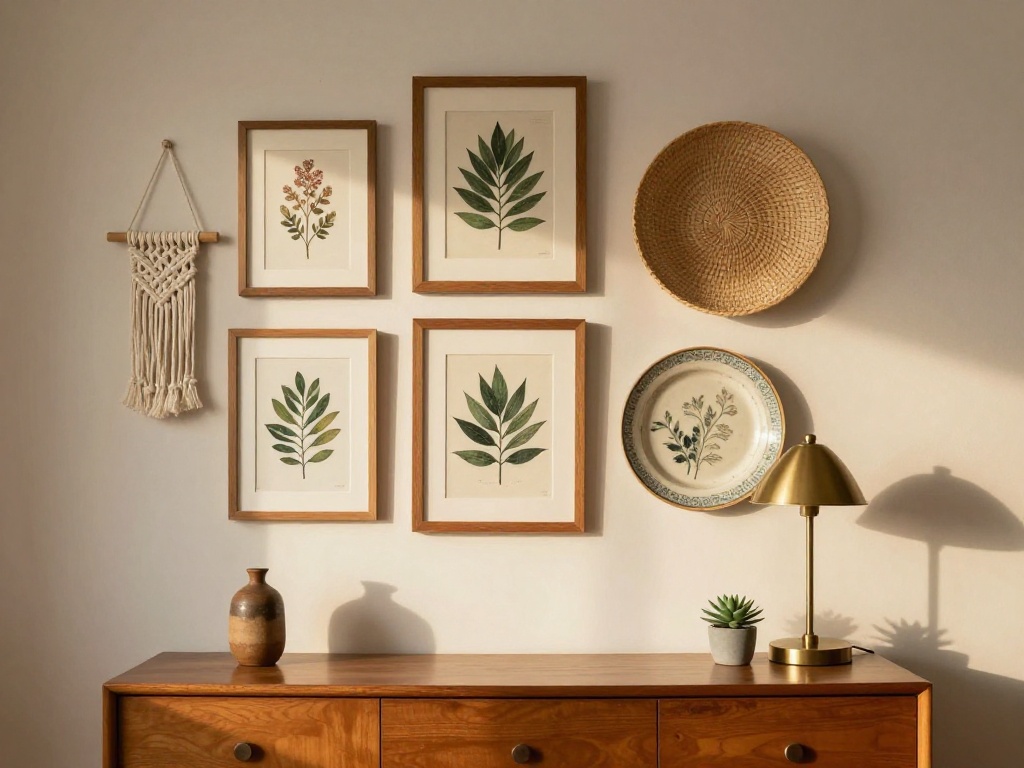
Incorporate a three-dimensional object — a wall-mounted vase, a small woven basket, or even a vintage clock — into your picture gallery arrangement. The depth breaks up the flatness of framed art and adds texture that draws the eye. In a bedroom, mix in a macramé hanging or a small ceramic plate for tactile variety.
Tip – Position the three-dimensional piece slightly lower than the surrounding frames so it doesn’t cast a shadow over its neighbors.
13. The Matching Subject Gallery
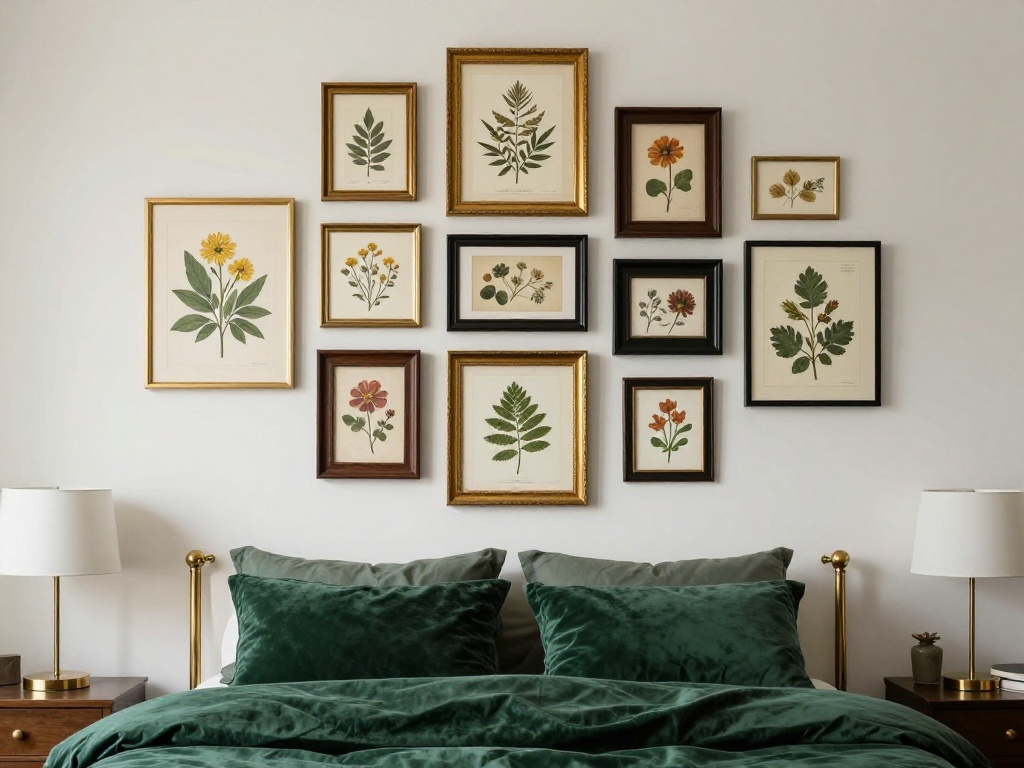
Choose a single theme — botanical illustrations, vintage maps, architectural sketches, or family portraits — and carry it through every frame. The uniformity of subject matter lets you mix frame styles and sizes freely, since the content itself creates the cohesion. This is especially effective in a primary bedroom where you want a more curated, hotel-like feel.
Tip – For a botanical look, use vintage book plates with off-white matting to soften the overall appearance.
14. The Picture Ledge Trio
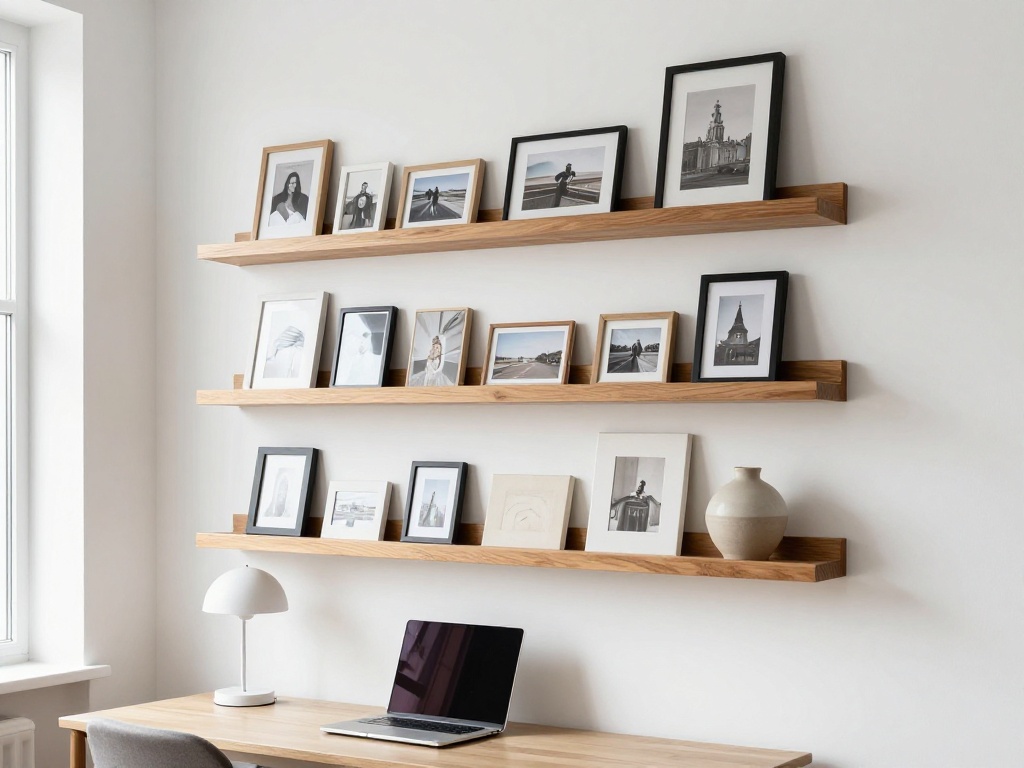
Install three long, shallow ledges stacked vertically with about a foot between them, then arrange frames across all three. This creates a horizontal band of art that feels like a modern frieze. You can layer frames by leaning some and resting others, overlapping slightly for depth. It’s a low-commitment layout because you can swap pieces without new holes.
Tip – Vary the heights of the frames on each shelf, but keep the overall silhouette of each shelf’s arrangement roughly the same width.
15. The Vintage Mirror Mix
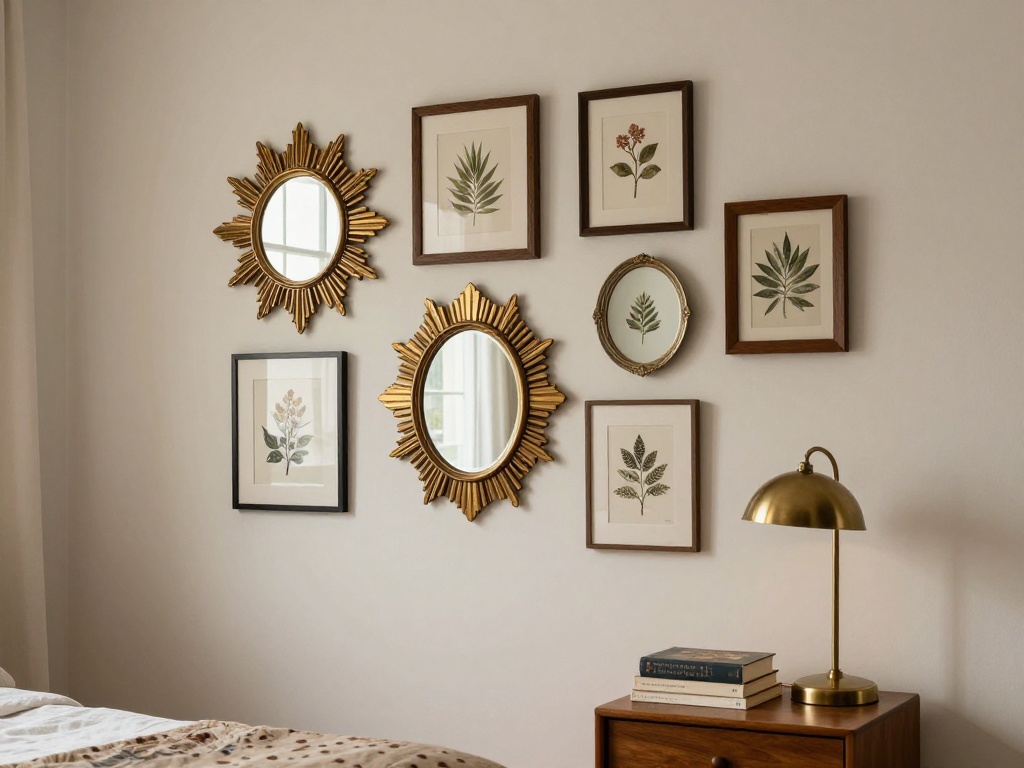
Combine one or two small vintage mirrors into your picture gallery — their reflective surfaces break up the mass of paper and wood while bouncing light around the room. The mix of old glass and new frames adds instant character and makes the wall feel layered and lived-in. Try a sunburst mirror or a small oval hand-mirror.
Tip – Hang mirrors opposite a window to catch natural light and visually expand the bedroom’s square footage.
16. The Diagonal Ceiling Chase
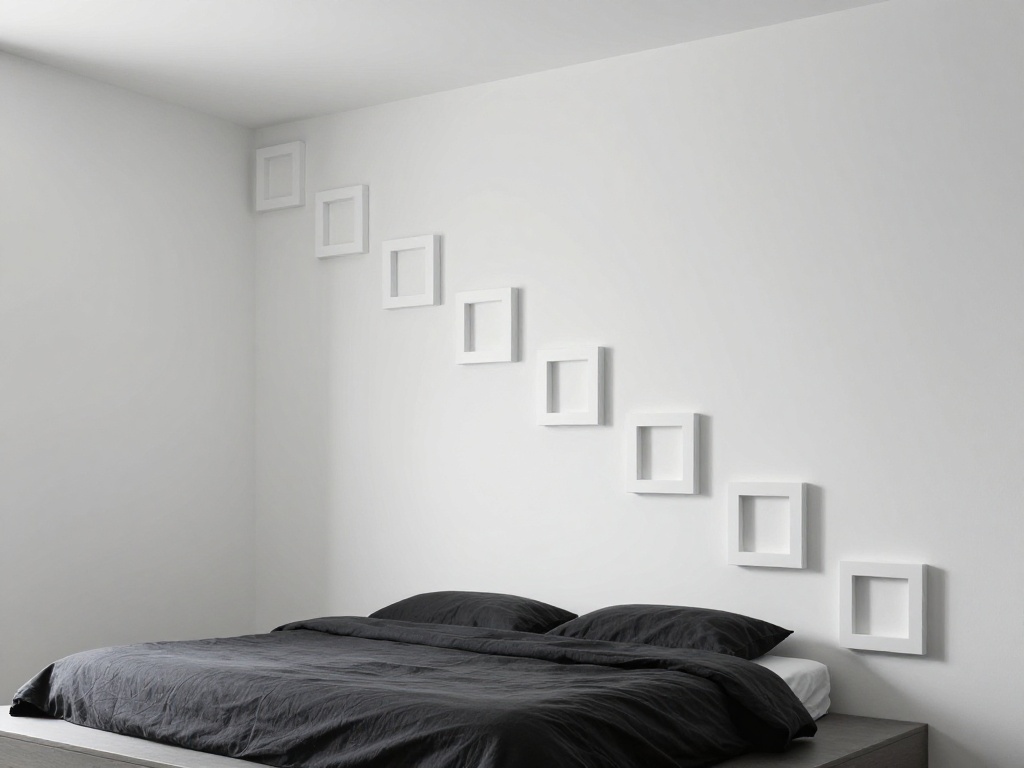
Run a line of frames diagonally from a high corner of the room down along the ceiling line, then carry it partway down the wall. This unexpected placement draws the eye up and makes the room feel taller, especially effective in bedrooms with lower ceilings. Use all identically sized square frames for the clearest line.
Tip – Angle the diagonal so it follows the roofline in a dormer or follows the longest wall to emphasize the room’s length.
17. The Minimalist Trio
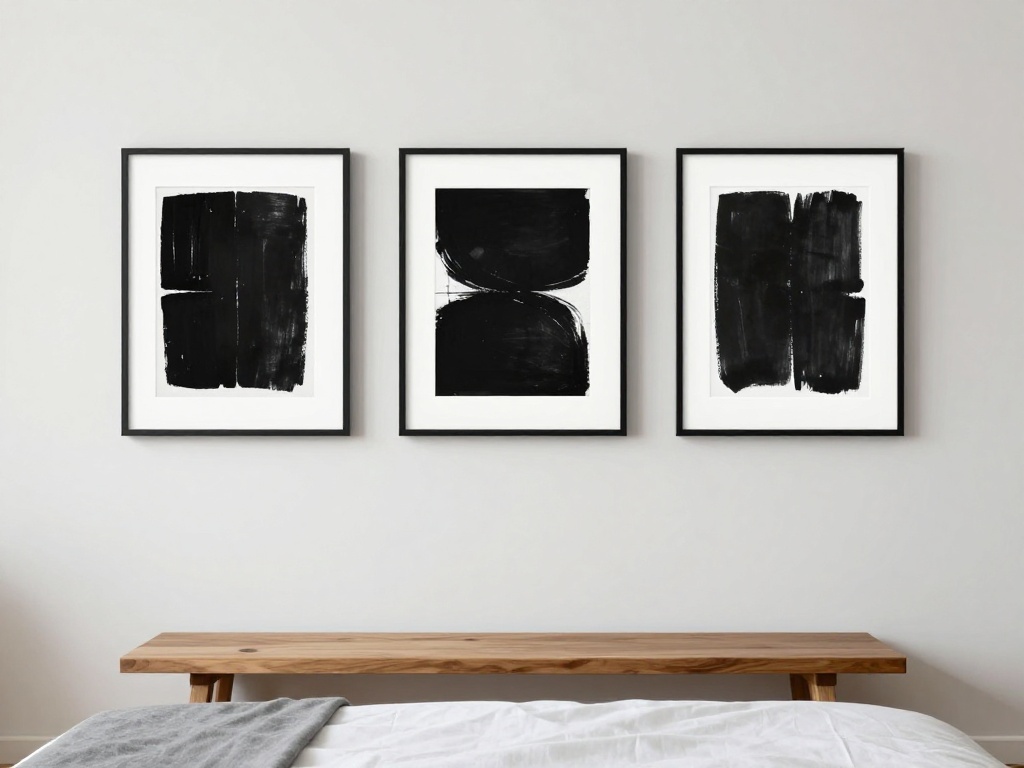
Three identically sized and framed pieces, hung in a horizontal row with perfect spacing, create a gallery wall that feels as clean as a single large artwork. This works best when the three pieces are either a triptych (one image split across three panels) or three completely different images tied by a unified color palette. It’s foolproof and takes less than fifteen minutes to hang.
Tip – Space the frames so the gaps between them are equal to the width of one frame’s side — that proportion guarantees balance.
18. The Clustered Corners
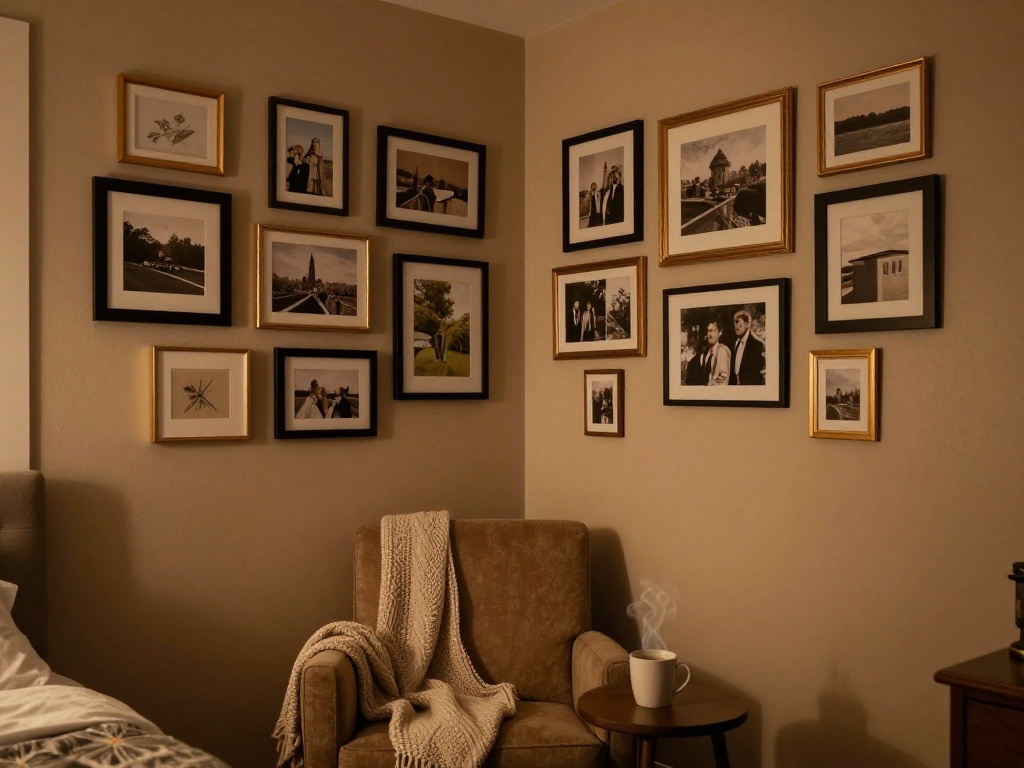
Instead of filling a whole wall, concentrate your picture gallery into just one corner, wrapping the frames around both adjoining walls. This creates a cozy reading nook vibe when placed over a chair or a small desk. The two-wall cluster feels more intimate and less demanding than a full-wall installation.
Tip – Keep the cluster within a three-foot radius of the corner to maintain the intimate feel — any wider and it just looks like an unfinished wall.
19. The Color-Coded Gradient
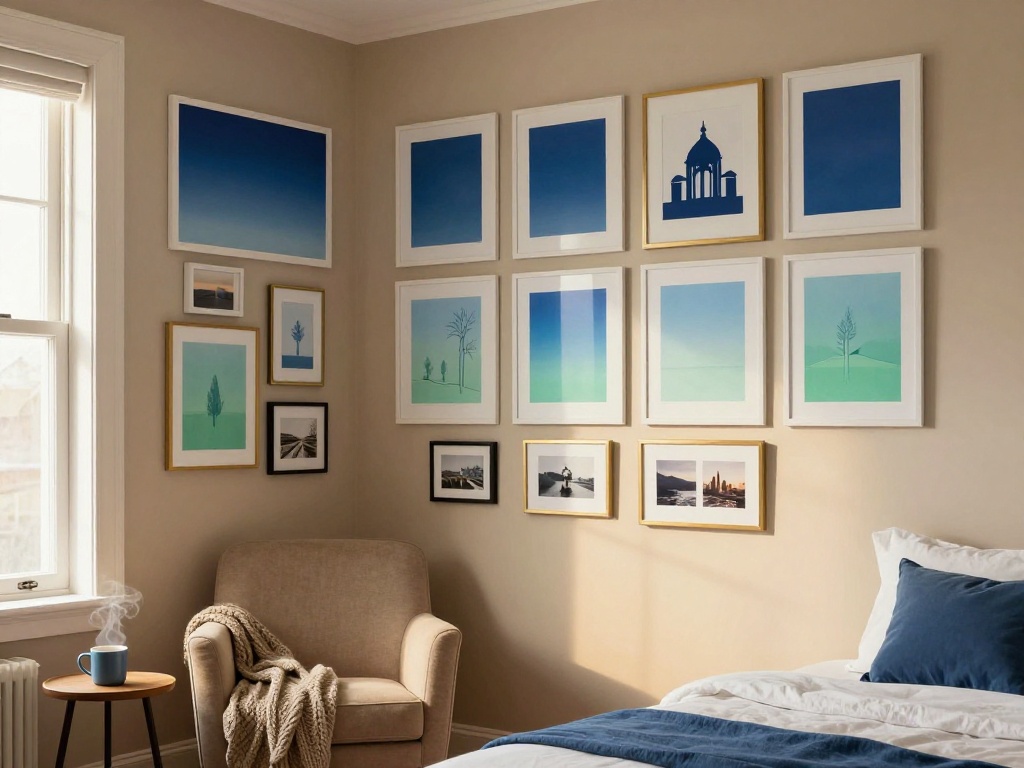
Sort your prints or photos by color and arrange them so the hues fade from one into the next across the wall, like an ombré. This turns your picture gallery into a statement piece that reads as much as art installation as personal memory. It requires a large collection, but the gradient effect is stunning in a minimalist bedroom.
Tip – Stick to a single color family, like blues moving into greens, rather than trying to cycle through the whole rainbow.
20. The Mismatched Matting Play
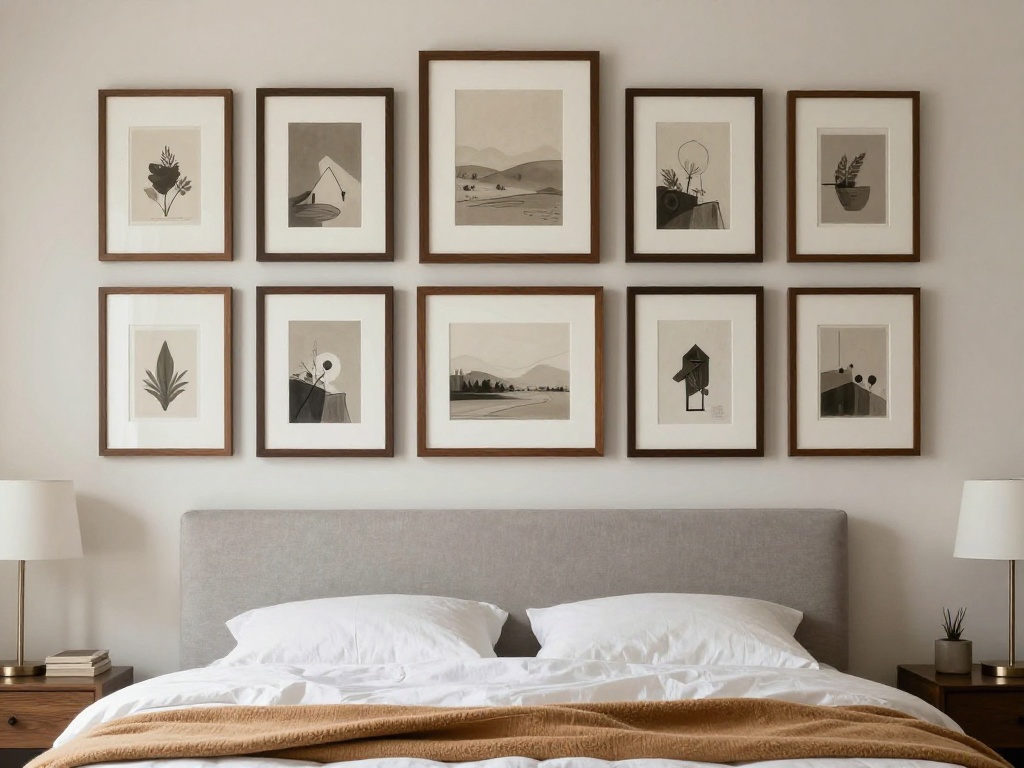
Use the same frame and the same size artwork but vary the width of the white matting around each piece. A wide mat gives a piece breathing room while a narrow mat feels more contemporary. This subtle variation adds texture and depth without introducing different frame colors or shapes, making it one of the easiest picture gallery ideas to pull off.
Tip – Order custom mats cut to at least three different widths — say one inch, two inches, and three inches — and arrange them in a random pattern.
Frequently Asked Questions
How do I choose the right size for a bedroom picture gallery wall?
The gallery should take up roughly two-thirds of the wall width and leave at least six inches between the edges of the arrangement and the ceiling or adjacent furniture.
What is the cheapest way to create a picture gallery wall?
Mix thrifted frames with printable art from Etsy or use your own photos printed at a budget lab, then stick to one layout like a tight grid to keep the look polished.
Can I use a picture gallery wall in a small bedroom?
Absolutely — a small cluster above the headboard or a single row of three frames above a dresser works better than a sprawling arrangement in a tight space.
How do I hang a gallery wall without damaging the walls?
Use adhesive hooks like Command strips for lightweight frames, or lean frames on a picture ledge shelf to eliminate nails entirely.
Where should I start when planning my gallery wall layout?
Start with your largest piece as the anchor, place it slightly off-center, then build the rest of the arrangement outward from there.
Final Thoughts
The difference between a picture gallery that feels intentional and one that feels chaotic almost always comes down to a single decision — frame finish, subject matter, or layout. Pick one organizing principle from this list and commit to it, and your bedroom wall will shift from random to refined in an afternoon.


Saleem Lali is the founder and administrator of CozyDecoNest, where he also writes for the Bedroom and Living Room categories. With a hands-on background in home styling and space planning, Saleem has spent years testing decor ideas in real homes before sharing them — from budget-friendly bedroom makeovers to layout tricks that make living rooms feel bigger and warmer. He oversees editorial standards across the site to ensure every guide is practical, tested, and genuinely useful.